Importing CALPADS files into Scout
Last updated: April 30, 2026
Scout lets district administrators import CALPADS extract files directly into the platform for three report types — SELA, SDEM, and SASS. The import tool parses each row, shows you a preview of what will change, and lets you resolve any ambiguous matches before anything is saved. Only district administrators can use this feature.
What you can import
File import is available for the following CALPADS report types:
SELA — Student English Language Acquisition data
SDEM — Staff Demographics
SASS — Staff Assignments
Other CALPADS report types (SENR, SPRG, CRSE, etc.) support report generation only, not file import.
Before you start
Your school must have a CDS code set in Scout. If it does not, the import option will be disabled.
You must select a school, school year, reporting period, and report type before the import panel appears.
Import files must be UTF-8 encoded
.txt(CALPADS fixed-width format) or.csvfiles.
How to import a CALPADS file
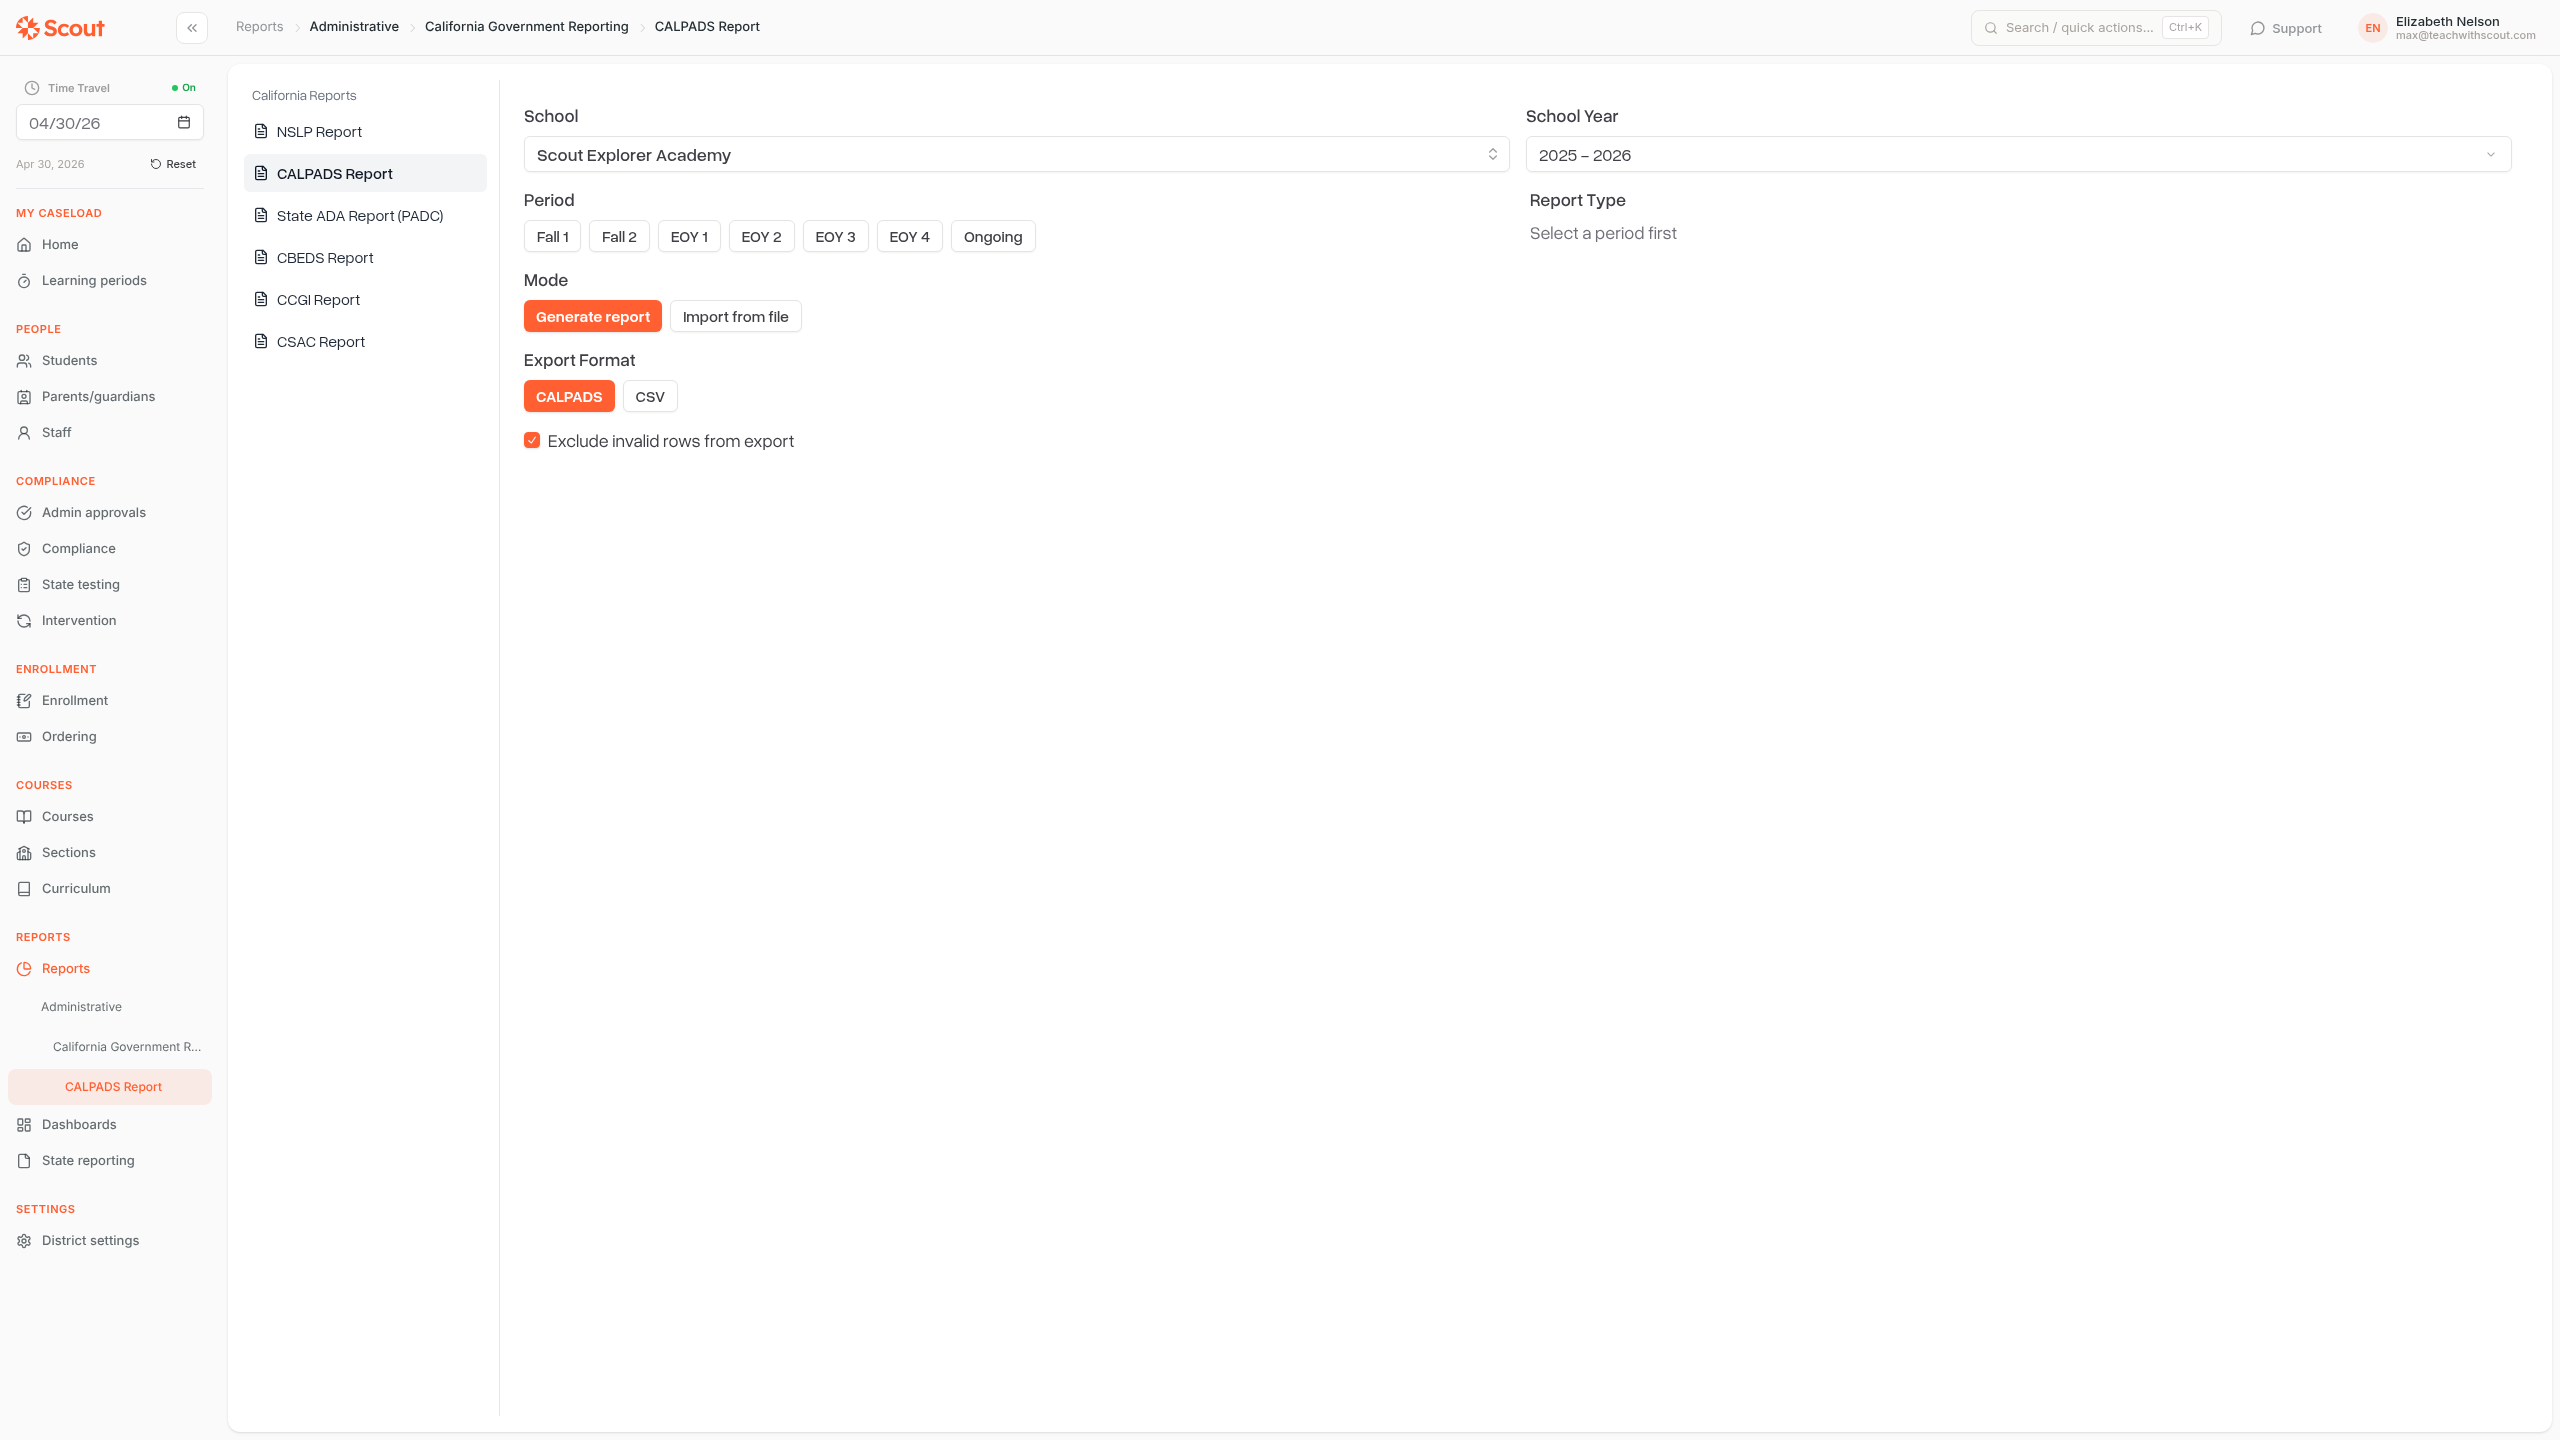
Go to Reports → Administrative → California Government Reporting → CALPADS Report.
Select a School and School Year.
Choose a Period (for example, Fall 1 or EOY 1).
Choose a Report Type that supports import (SELA, SDEM, or SASS).
Under Mode, click Import from file.
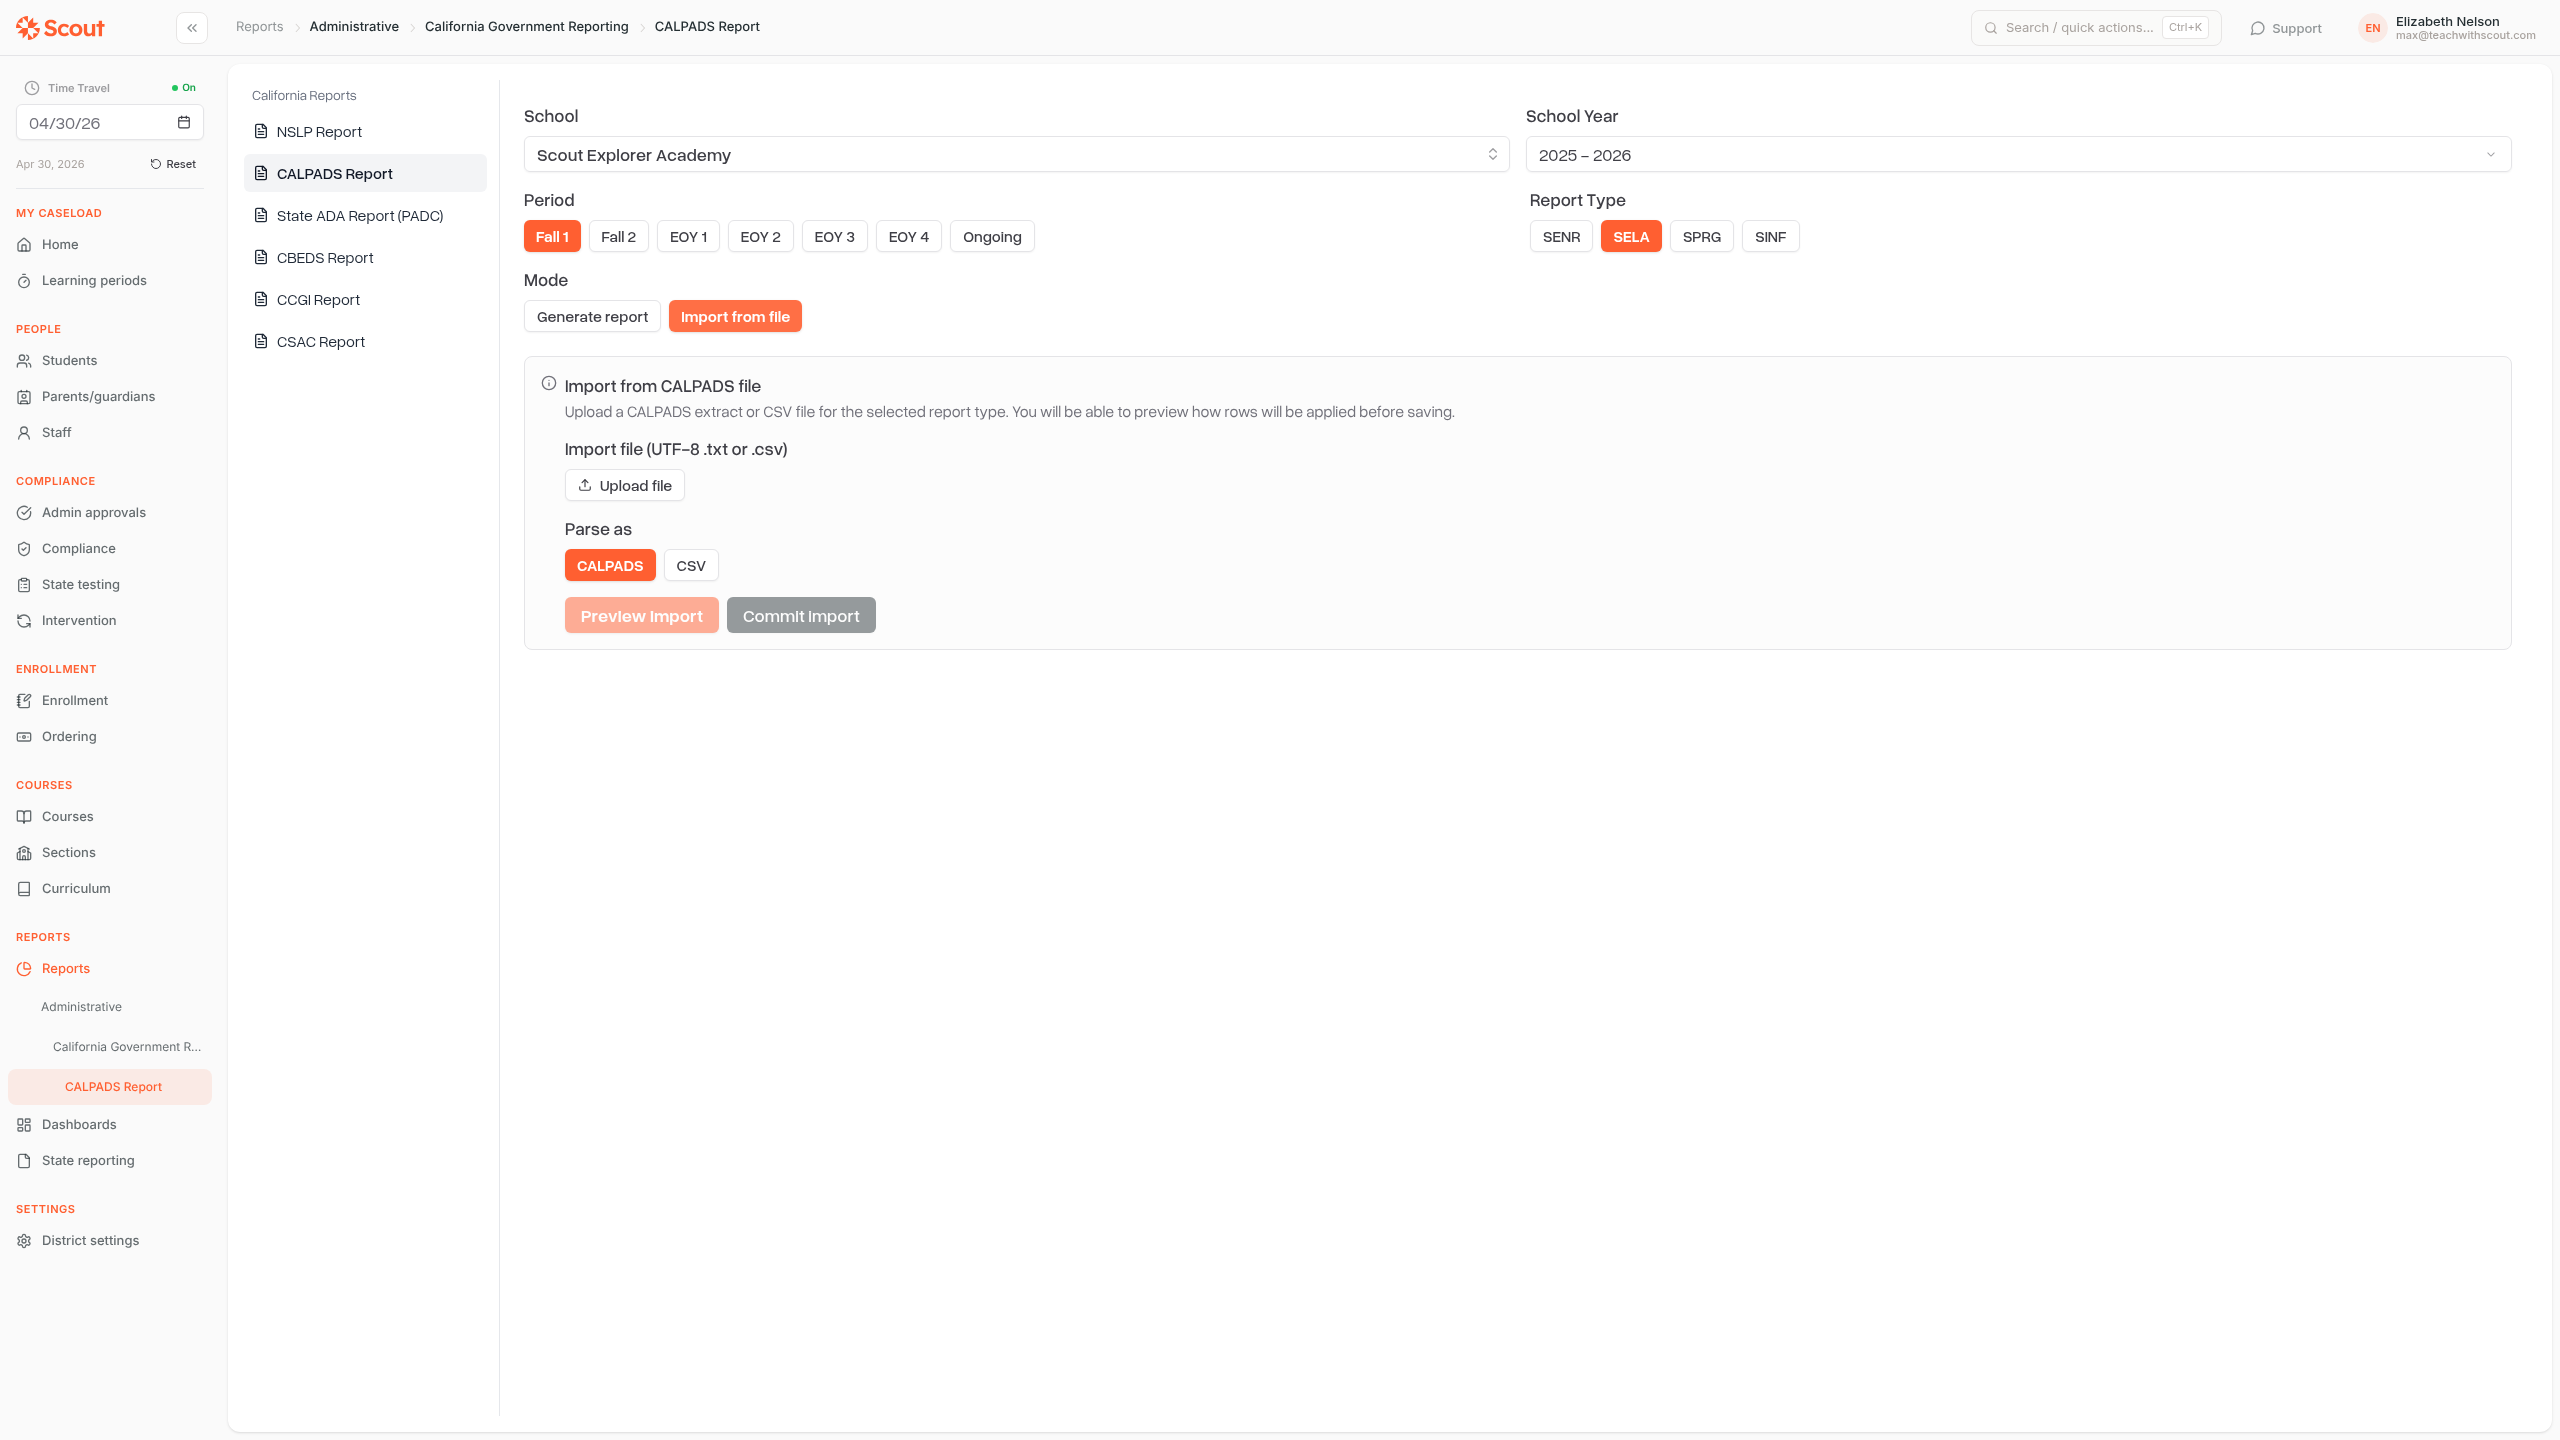
Uploading and previewing
Click Upload file and select your
.txtor.csvexport from CALPADS.Choose how the file should be parsed: CALPADS (fixed-width format) or CSV.
Click Preview import. Scout parses the file and shows each row alongside the staff member or student it matched in the system — without writing anything to the database yet.
Resolving ambiguous rows (SASS imports)
For SASS imports, some rows may be flagged as ambiguous — for example, if a staff member's SEID matches more than one person in Scout, or if multiple assignment records are plausible. For each ambiguous row you can:
Select the correct staff member from a dropdown of all district staff
Select the correct assignment override
Set a start date if the file row doesn't include one
You must resolve all ambiguous rows before the Commit import button becomes active.
Committing the import
Review the preview table and confirm the rows look correct.
Click Commit import. Scout applies the rows to the database:
SELA — updates student English learner records
SDEM — updates staff demographic information
SASS — creates or updates staff school assignment records; delete (
D) transactions in the file are skipped and reported
A summary appears showing how many rows were applied, created, updated, skipped (unmatched), and skipped (invalid or delete).
Frequently asked questions
Why is "Import from file" grayed out?
The Mode selector is disabled when the selected school does not have a CDS code configured. Ask your district administrator to add the CDS code in District Settings.
Why doesn't the report type I selected show an import panel?
Only SELA, SDEM, and SASS support file import. If you select any other report type and switch to Import from file, Scout will display a message saying import is not yet available for that type.
Can I re-run an import?
Yes. Imports are safe to run more than once. Scout upserts (creates or updates) records rather than duplicating them, so re-importing the same file will update existing data rather than create duplicates.