Adding a section to a course
Last updated: April 30, 2026
Sections let you divide a course into smaller groups — by class period, teacher, or any other grouping that makes sense for your school. This article walks you through adding a new section to an existing course in Scout.
How to add a section
Step 1: Open the course
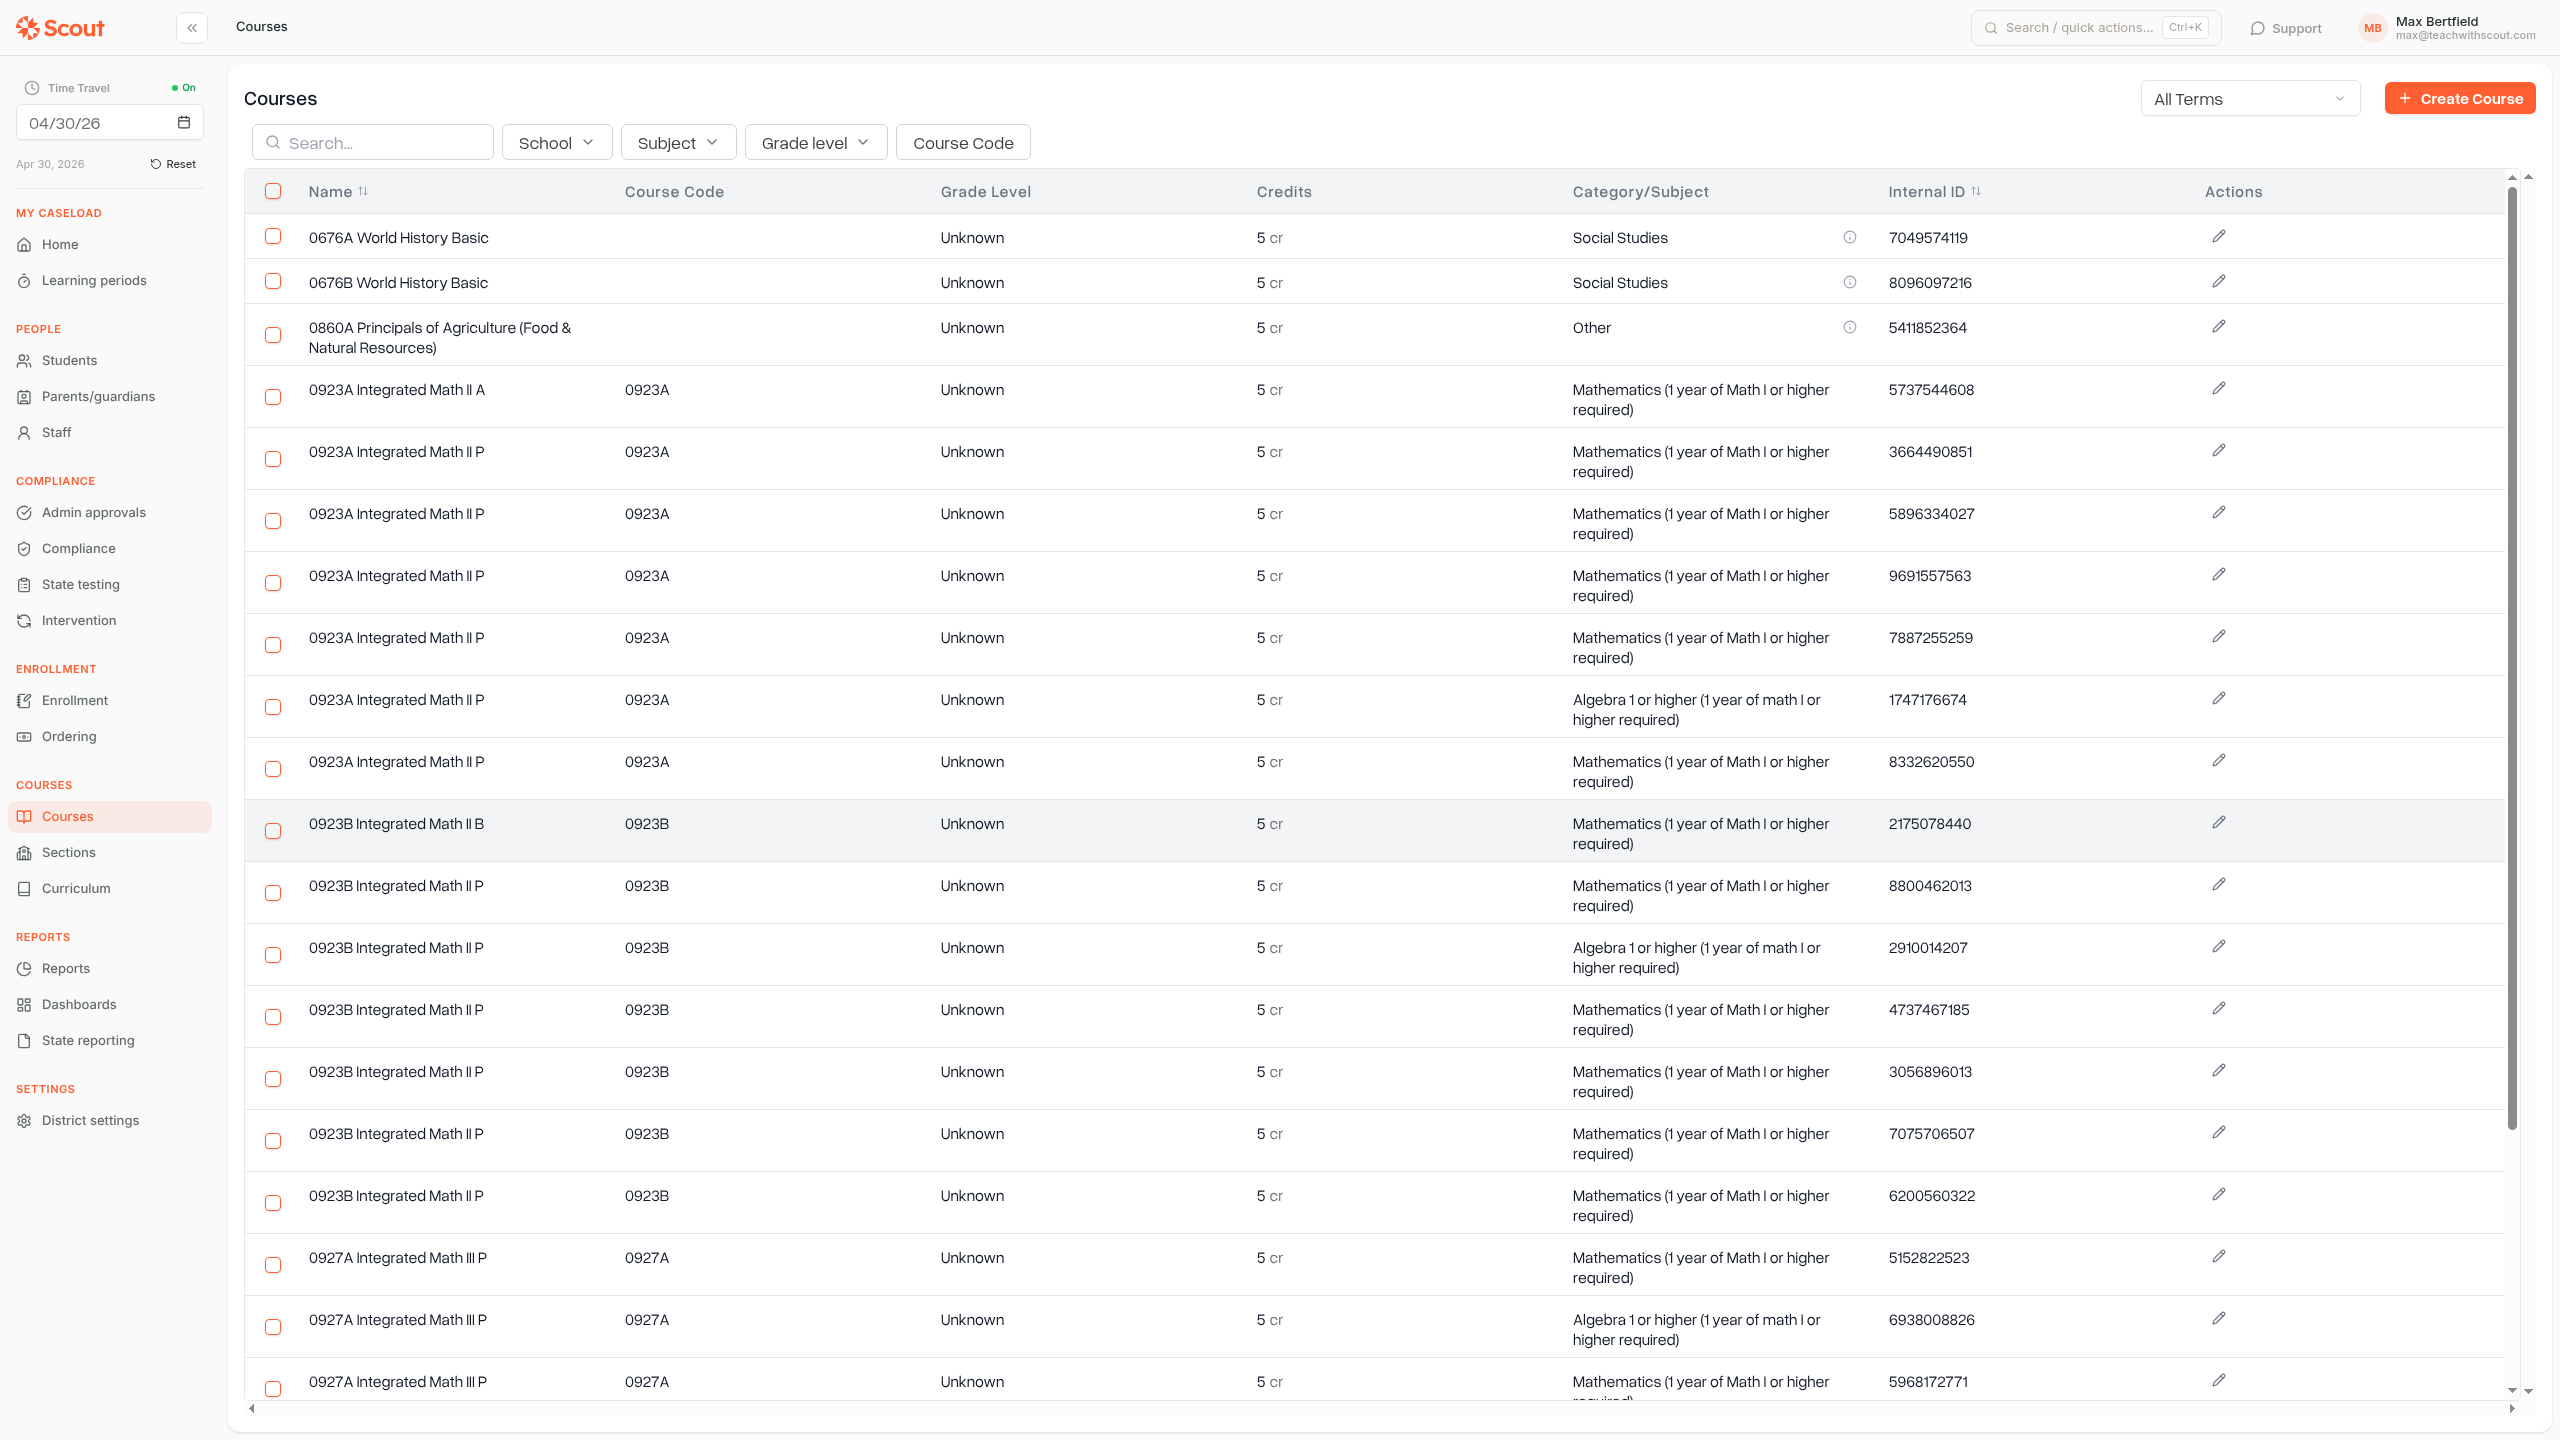
Go to Courses in the left sidebar.
Click the course you want to add a section to.
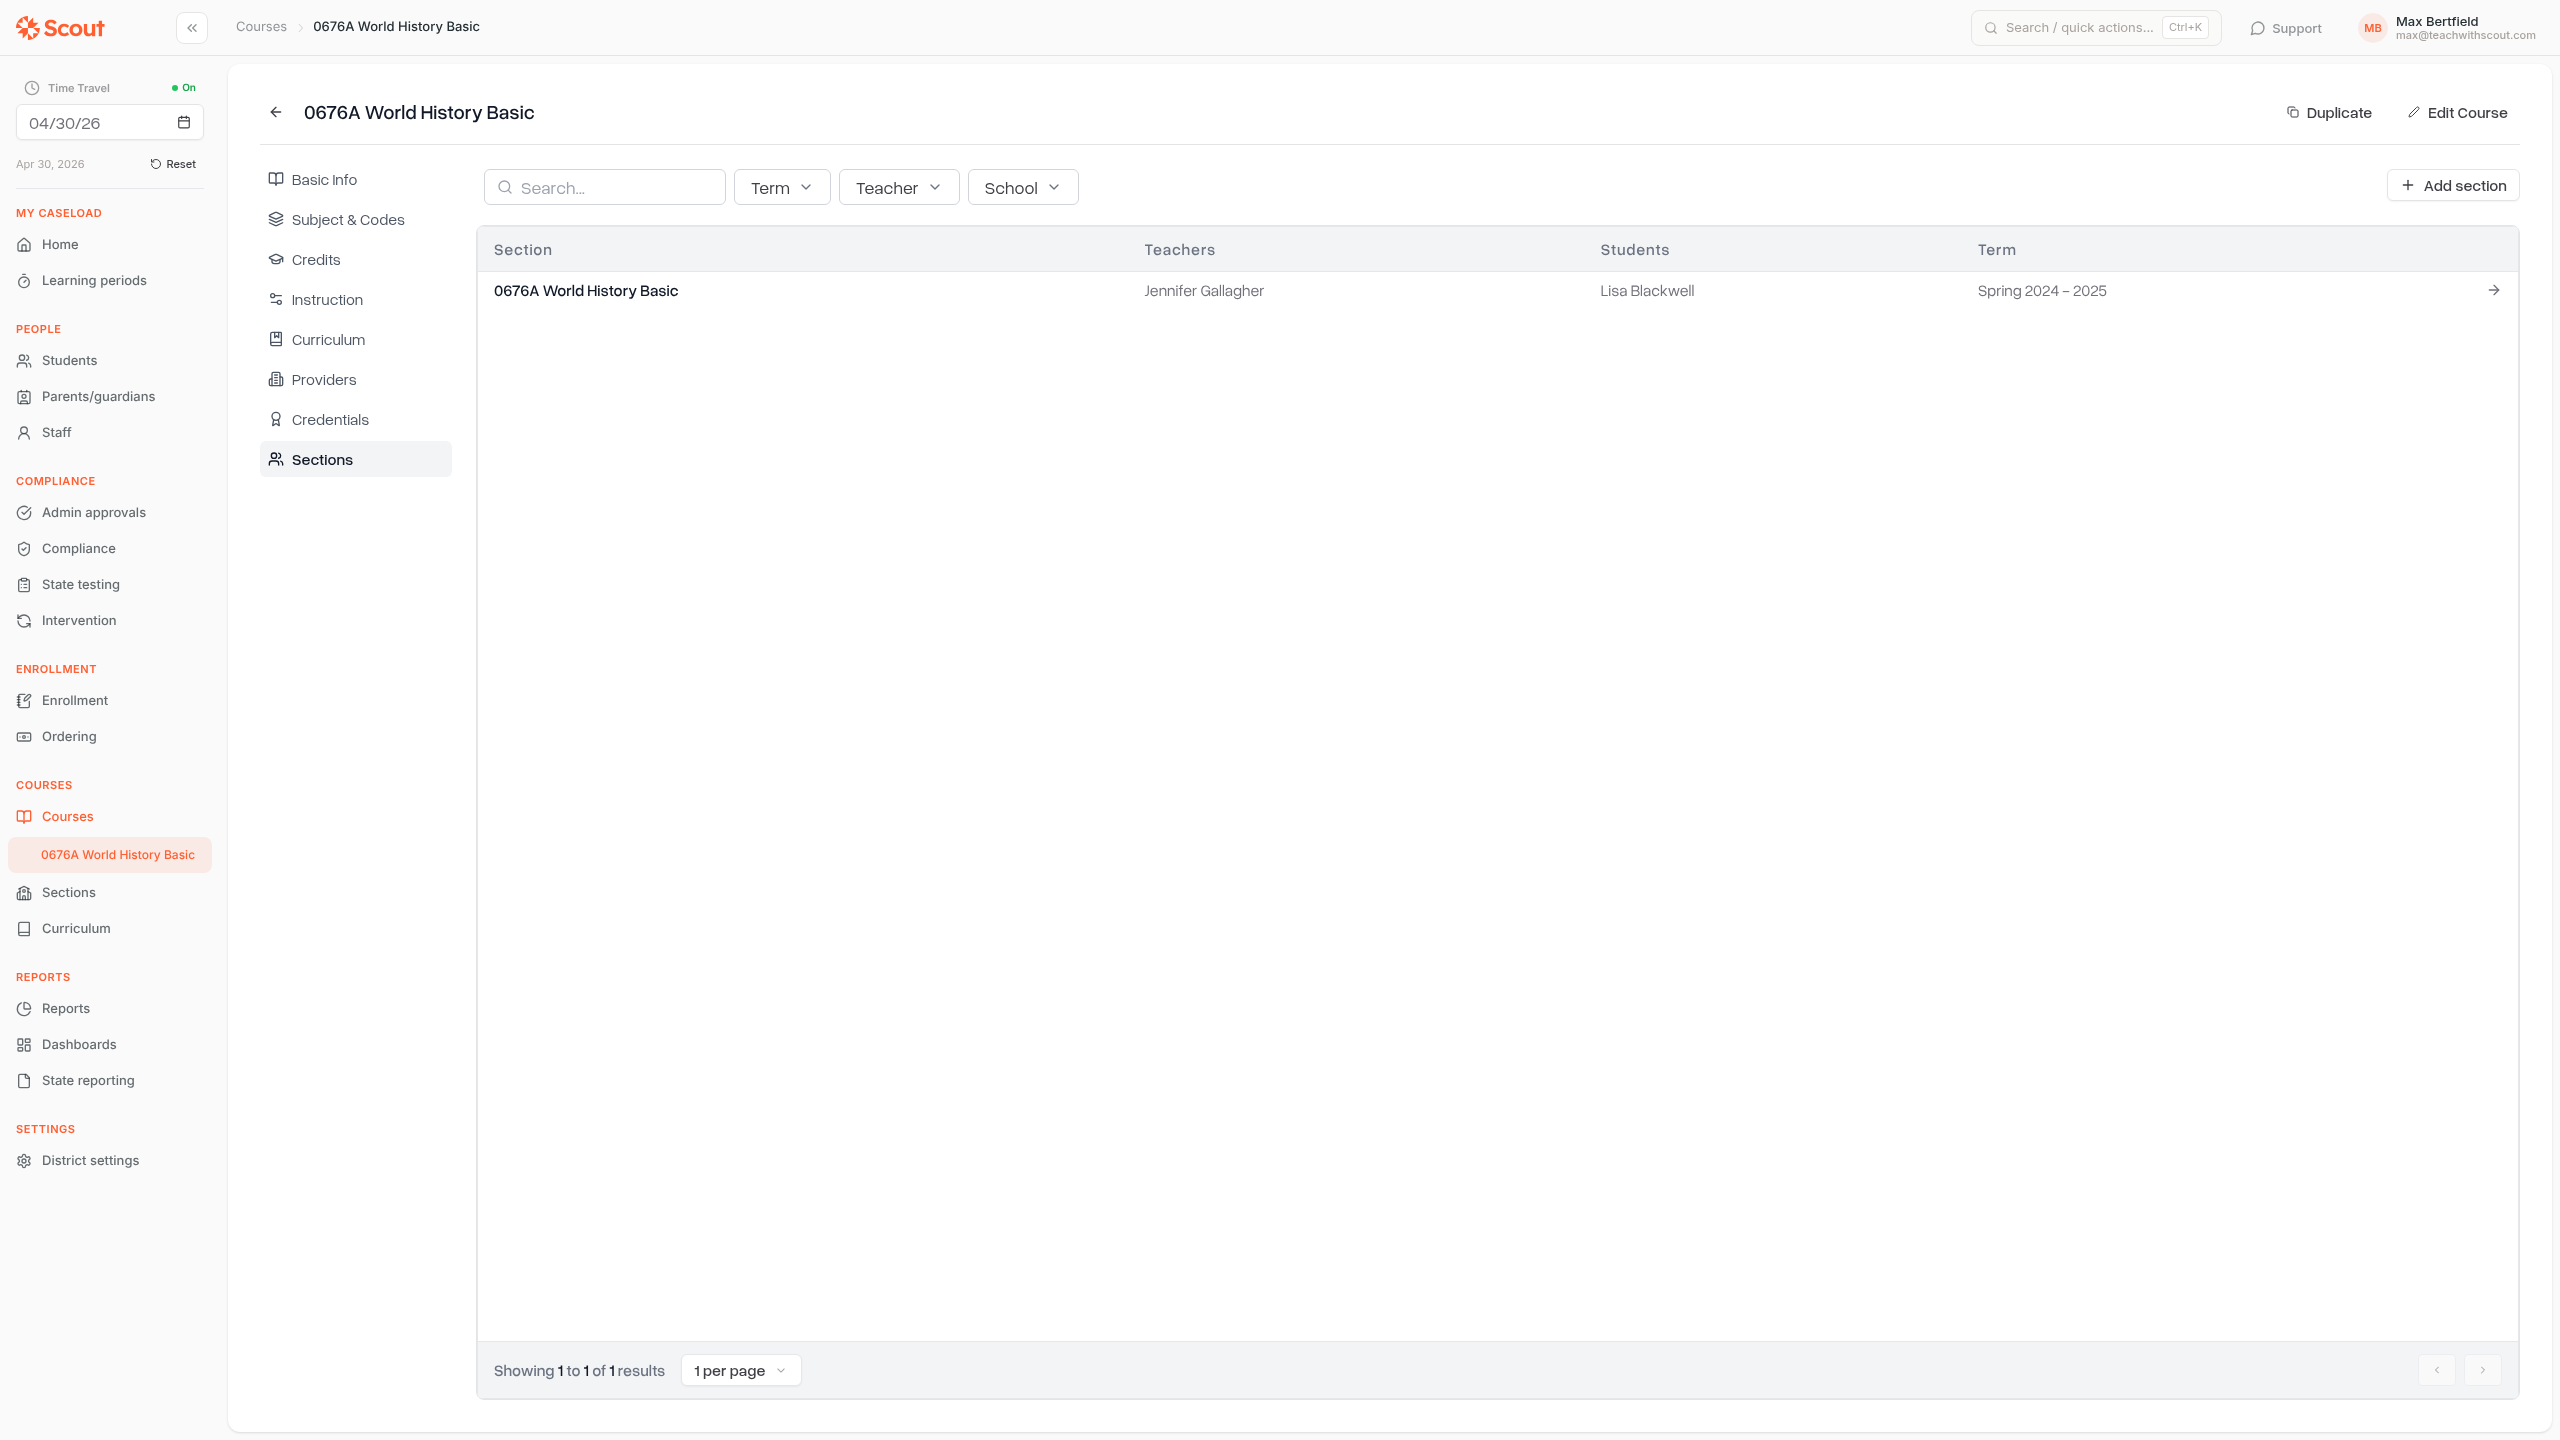
Step 2: Go to the Sections tab
Inside the course profile, click Sections in the left-hand menu. You'll see all existing sections for the course, and an Add section button in the top-right corner of the sections list.
Step 3: Fill in the section details
Click Add section. A dialog will open where you can configure the new section.
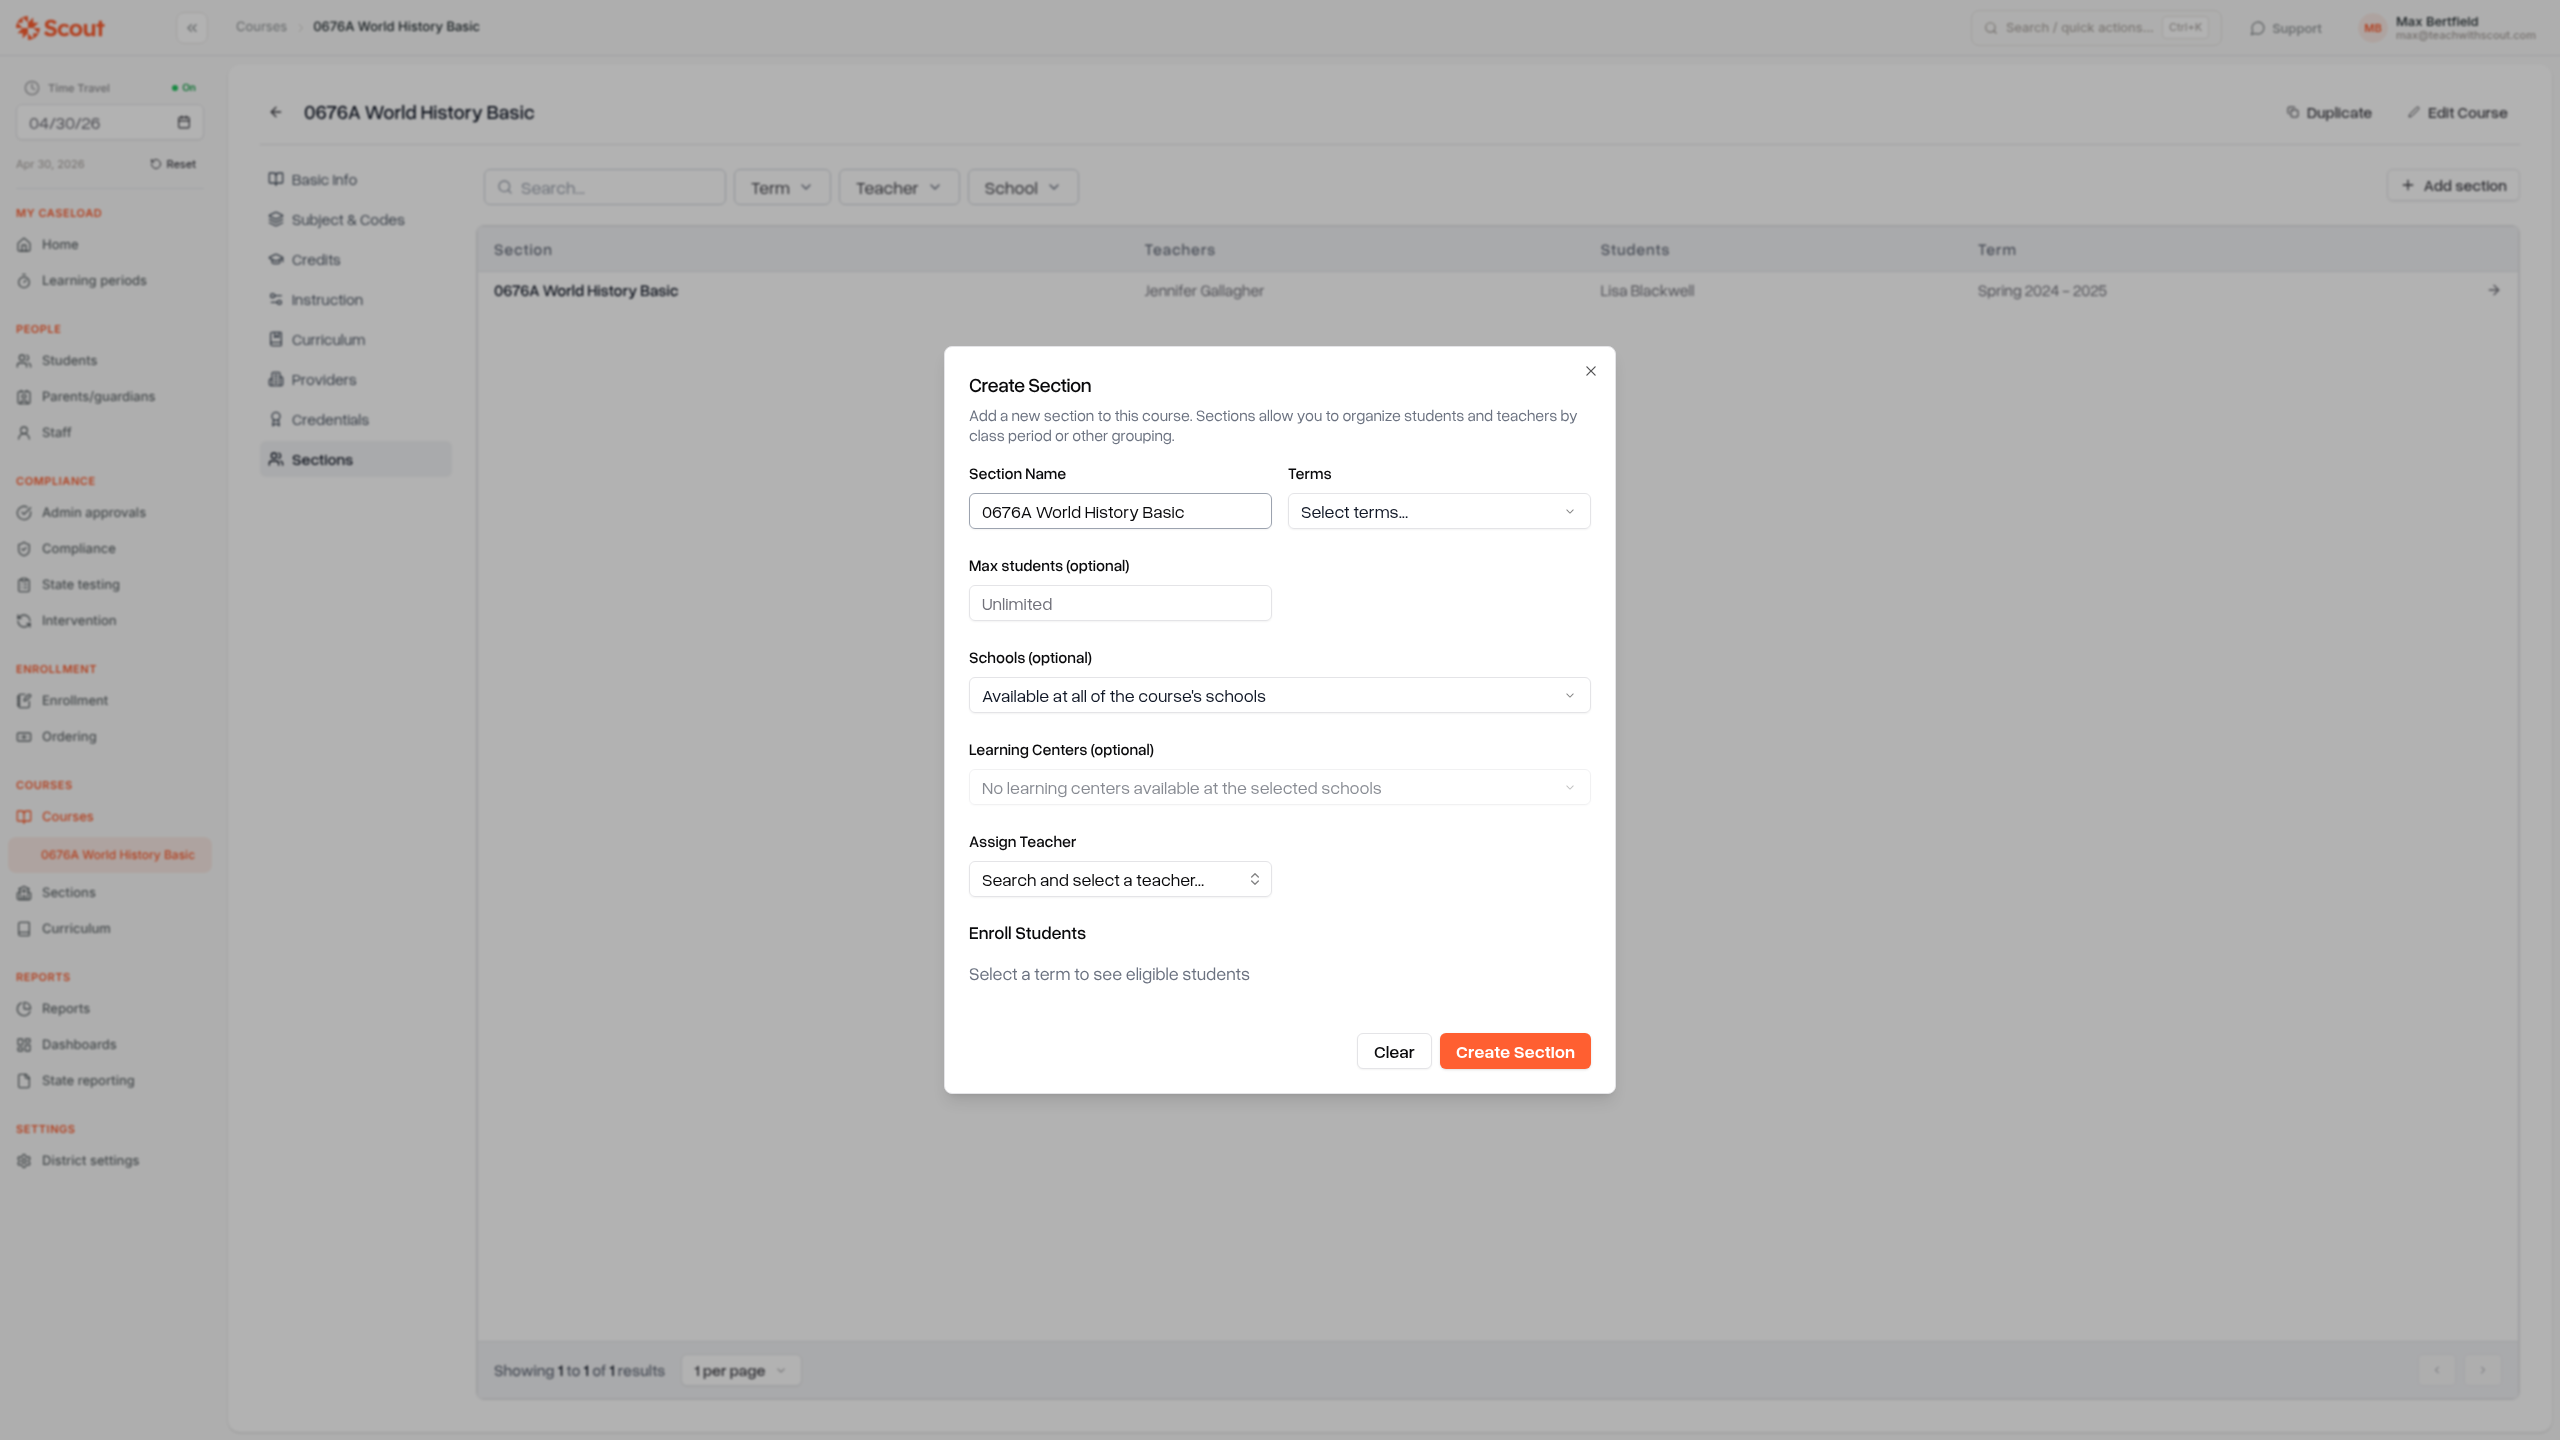
The fields are:
Section Name (required) — A name for the section. Scout pre-fills it with the course name; change it to something like "Section A" or "Period 3" if you need to distinguish between multiple sections.
Terms (required) — Select one or more terms this section runs in. All selected terms must be from the same school year. The section's date range is derived automatically from the earliest start and latest end dates of the chosen terms.
Max students (optional) — Set a cap on how many students can be enrolled in this section. Leave it blank for no limit.
Schools (optional) — Restrict the section to specific schools from the course's school list. If you leave this blank, the section is available at every school the course is offered at.
Learning Centers (optional) — Link the section to one or more learning centers. The picker only shows centers that belong to the schools selected above (or all the course's schools if no school restriction is set).
Assign Teacher (optional) — Choose a teacher to lead this section. The teacher's assignment dates are set automatically from the section's term dates.
Students (optional) — Enroll students directly while creating the section. Only students eligible for the course in the selected term will appear in the list.
Step 4: Create the section
Click Create Section. The section is saved immediately and appears in the sections list. To clear the form without saving, click Clear.
Tips
You can add multiple sections to the same course. Repeat the steps above for each section you need.
Terms drive the section's dates. If you need a section to span a specific date range, pick terms whose start and end dates match. You can't set custom dates directly on the section — the term dates are used automatically.
Schools and learning centers are optional filters. Most sections don't need them — only add school or learning center restrictions when a section runs at a subset of the course's schools.
Students can be added later. If you're not ready to enroll students yet, skip that field. You can assign students to the section after it's created.